
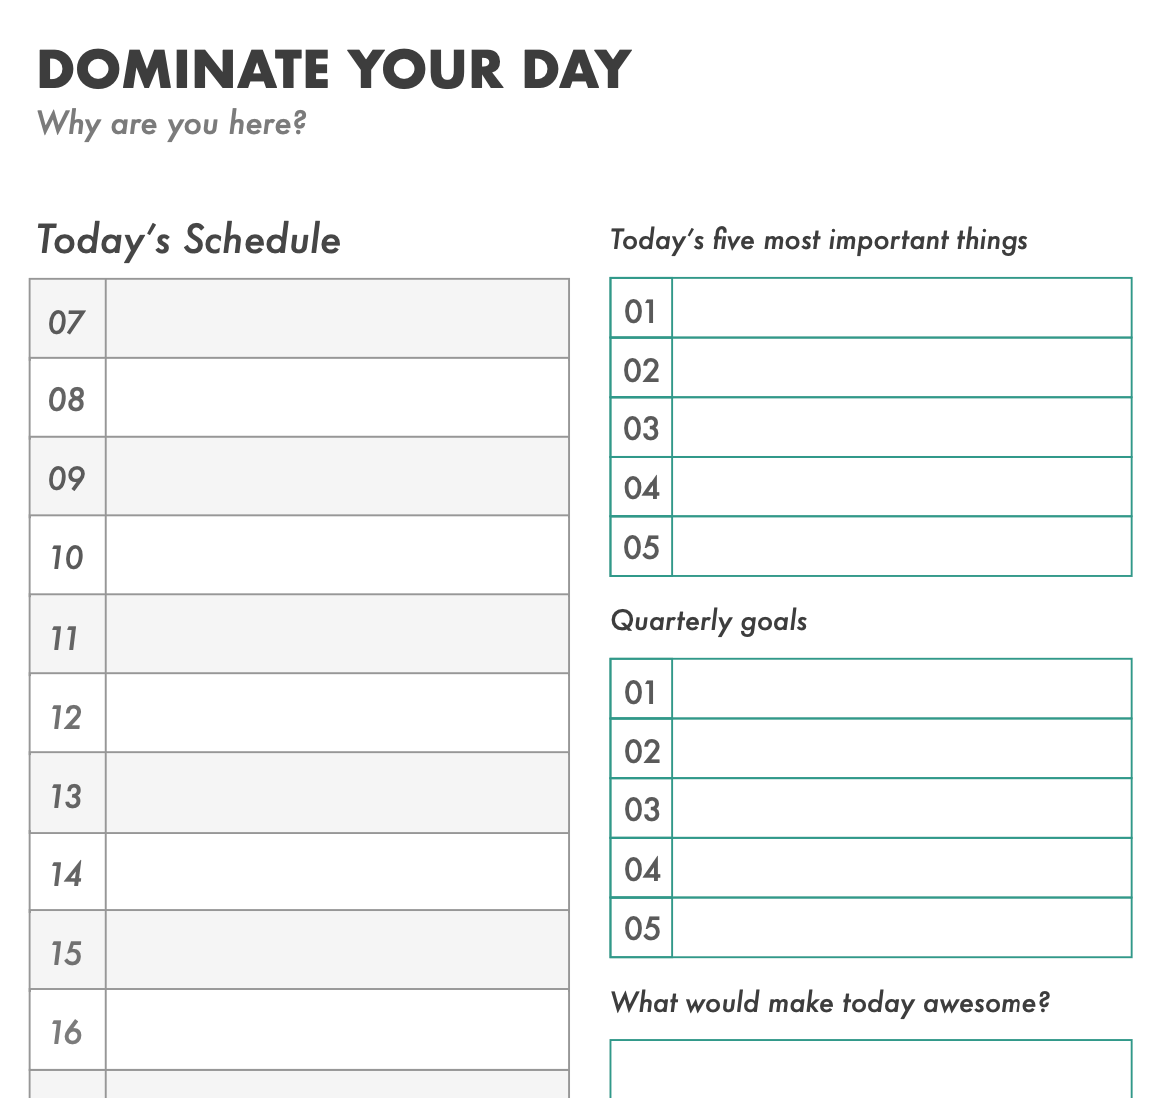
It’s no secret that I’m a big fan of both tasks and projects.
Creating simple task-lists gives me clarity and focus, and allows me to knock projects out quickly.
Task-lists also allow me to front-load the thinking for any given project. When I create the project, I try to anticipate every task needed, and write that down first. Then all I need to do is go through the tasks and complete them.
It’s the way I’ve worked for years, and I like it.
But what if I told you there’s another way? A way to be even more productive with less planning? If that sounds interesting, then let me introduce you to timeboxing in Obsidian.
Introducing Timeboxing
Timeboxing is the practice of migrating your todo list to your calendar. Instead of having long lists of tasks, you have time slots that are devoted to certain pursuits.
Timeboxing can be a bit overwhelming at first. People who practice timeboxing often show off their packed calendars, which look something like this:

I thought this was crazy at first. How can anyone stand having every minute of their day planned?
It was intimidating. But only because I didn’t understand timeboxing.
Know this: those time-slots are not meetings. They are Focus Sessions. Scheduled time to focus on a certain thing.
Focus in the 21st Century
Focus is hard to come by these days. Attention is the new currency. We are all inundated with information 24/7: new emails, new blog posts, new news. Even if you try to ration your information—turn off all your notifications, disconnect from the news and social media—you still can’t get away from all of it.
So how does one recapture focus? How do we ensure that our attention goes to things that we value, instead of wasting the day away on whatever is new and shiny?
You guessed it: timeboxing is one of the best ways I’ve found to ensure that you’re always focusing on something meaningful.
Timeboxing is especially useful for pursuits with intangible tasks. If you want to get better at playing guitar, perhaps, or painting, or any other creative pursuit, you may want to consider timeboxing. Scheduling an hour per day to practice your craft is likely to be more effective than any task-based approach.
So how do we do it?
Timeboxing on Paper
For many years I practiced timeboxing on paper. Here’s what my paper timebox looked like:
This worked well for a while. Sitting down first thing in the morning and writing out my plan for the day made my day go more smoothly.
But I found that paper is too easy to ignore. I had no system to force me to plan my day, so eventually I stopped.
Also, I never have complete control over my day, and whenever my plan was disrupted it was discouraging and hard to fix. I don’t like adjusting my plan on paper, because it feels like a permanent failure.
So I stopped timeboxing. I didn’t want to use a calendar, because I do still have important meetings that I have to attend, and I don’t want to clutter up my calendar and notifications with things that I don’t have to do.
So I went without timeboxing for a long time.
But I’ve recently rediscovered it, due to a new (to me) Obsidian Plugin: Obsidian Day Planner.
Obsidian Day Planner
This plugin isn’t really new, but it was recently redesigned, so it feels new.
The old Day Planner plugin (now called the Day Planner OG) didn’t work well with how I use Obsidian. Plenty of people like it, but for me, it wasn’t a good fit.
But I like the new design way better.
One note before we dive into the plugin: technically, the plugin isn’t necessary. The plugin adds some bells and whistles, which we’ll look at shortly, but timeboxing in Obsidian is mostly a mindset change. You could do it with a simple list, as we will see shortly.
If you do want to use the plugin though, it does make a few things easier.
Setting up Day Planner in Obsidian
If you want to use the Day Planner, you’re going to need to install it. Click to open in Obsidian, then click “install” and “enable”.
You also need to install and enable Dataview, if you don’t already have it.
Once you have it installed, we’re ready to set it up!
Setting up for Timeboxing in Obsidian
You don’t have to use the plugins above to do this if you don’t want to. But for this method to work, you do need to at least use the built-in Daily Notes plugin.
Daily Notes is a core plugin. Core plugins are built-in to Obsidian, so if you already have Obsidian then you also have Daily Notes. You just have to go into your settings and enable it:

Once you have Daily Notes enabled, then you do need to do some light configuration. Again in settings, click on “Daily notes” and it will show you settings. You can keep the default date format, but you will have to set up a folder for your daily notes to live in, and a template location.

I keep my daily notes in a folder called “Daily Notes”, and use a template in my Templates folder called “Daily Note” (keeping it simple). If you want to know more about templates, see Getting Started with Templates in Obsidian.
Once you have a template created, it’s time to create your default schedule. You could take time to put a lot of thought and attention into this, or you could do what I did: plan today in your template, and start using it. You can always change the template later, and as you get used to timeboxing in Obsidian, you will inevitably figure out what works for you, and what doesn’t.
Mine looks like this:
## Day planner
- [ ] 07:00-07:30 Startup
- [ ] 07:30-8:30 Writing and Obsidian work
- [ ] 8:30-11:15 Client work
- [ ] 11:15-11:30 Shallow work
- [ ] 11:30-12:30 Lunch
- [ ] 12:30-15:30 Deep work
- [ ] 15:30-15:45 Shallow work
- [ ] 15:45-17:00 Admin and shutdown
I added that to my Daily Note Template, and then whenever I create a Daily Note I go through and tweak my “daily schedule”.
A few things to note here:
- Day Planner uses military time, so afternoon times start at 13:00 (for 1pm)
- Day Planner requires checkboxes for each item in the planner (- [ ] is how you create a checkbox in Markdown)
- Day planner requires that your schedule lives underneath a heading. By default it is “Day planner”, like you see above, but you can change that.
The format looks strange at first, but it becomes intuitive once you get used to it. Also, Day Planner has some extra tricks up its sleeve to make it even easier to do timeboxing in Obsidian. Let’s talk about that.
Calendar View in Day Planner
There are two custom views included with the Day Planner, and these are where the magic happens!

This is the Week Planner. You can access it through the Command Palette.
The Week Planner shows you your timeboxes for the week, and also allows you to create timeboxes for your week. In fact, if you don’t want to mess around with templates, you could create your entire schedule using only this tool.
This tool has lots of handy features that make it easy to edit your entries, including drag-and-drop, and you can easily resize a timeblock by dragging the border up or down.
The Week Planner is fantastic for planning your week. But it’s not what I use to stay on track throughout the week. For that we need our next tool…
Day Planner Timeline
The second view I want to talk about is the TImeline view in Day Planner.
Again, this view is accessible through the Command Palette. But if you open this view, it appears in your sidebar:

You can also edit your time slots with this view if you need to. But more importantly, this view shows you what you’re supposed to be doing right now. It has a line indicator for where you are in your day, and helps keep you on track.
Day Planner Settings
There is also a ton of configuration you can do in Day Planner. Let’s go over some of the highlights.
Status Bar Settings
Day Planner has a feature that allows you to see your current scheduled item in the status bar. This is another feature that helps keep you on track throughout the day. You can turn this on or off, and you can also turn on/off a progress indicator, which may or may not be helpful to you.
I rather like the progress indicator: it gives you a way to tell how much time you have left in your current timeblock at a glance.
Notifications
Day Planner supports notifications on Desktop: Obsidian will send you a notification whenever it’s time to change tasks.
They default to on, but if you don’t like the notifications, feel free to turn them off.
Timeline Zoom Level
Timeline Zoom Level controls the density of your calendar. I like a condensed calendar, so I turn this one down for a more packed-looking calendar.
Colorful Timeline
By default the timeline can look a little boring: if you want to make it look a little more visually interesting, you can turn on “Colorful Timeline”, which allows you to add a splash of color to your timeline.
Conclusion
The Day Planner plugin is another great tool to have in your back pocket. If you want to try timeboxing in Obsidian, this is a great option. If you’re like me, it might be the “Goldilocks option”: not too hot, not too cold, but just right.
Leave a Reply